Sort by:
View:

Category: Exchange

https://blog.mehedy.com/wp-content/uploads/2018/06/Brute-Force-Attacks-960x639_c.jpg

Protect Exchange OWA from Brute-Force attack


Protecting Exchange OWA from any Brute-Force attack follow the below steps.

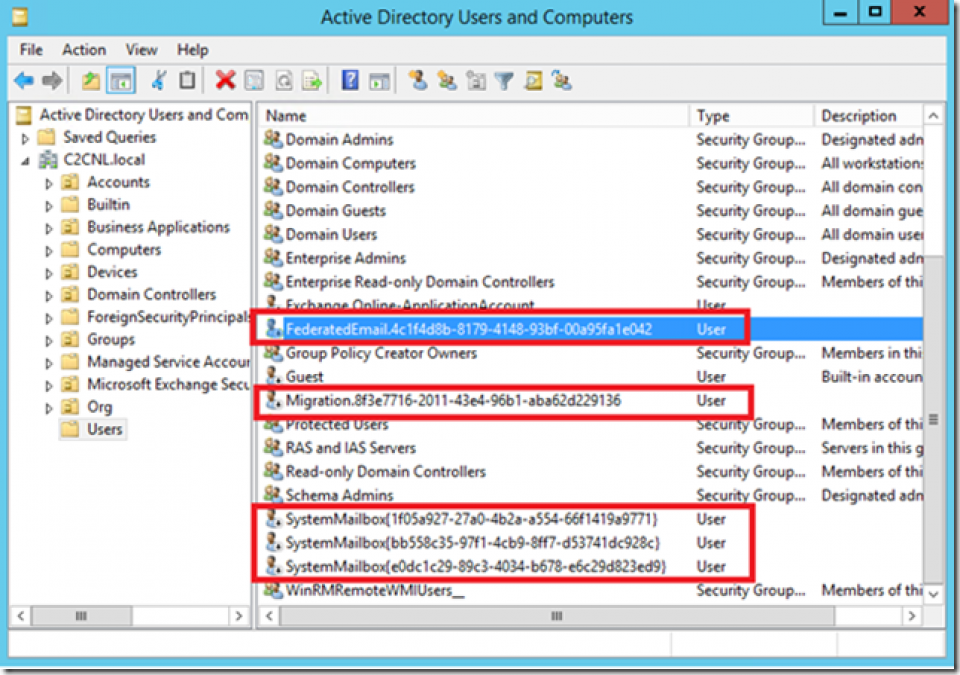
Step1: Maintain Password Policy from Active Directory Domain Controller

To protect the OWA from Brute-Force attack we can proceed with simple things. First, we need to manage the password policy on our Active Directory.

Protect Exchange OWA from Brute-Force attack

To get manage this policy, we can simply configure it from the Group Policy. Selecting the password policy GPO.

Step 2: Configure the cache for IIS authentication

Once the Password Policy has been maintained the next step is to configure the cache for IIS authentication. As I have mentioned earlier, even though user is locked on Active Directory they will still get access on the OWA Portal. So to stop it, we need to reduce the cache of the IIS website. To reduce the cache we need to perform below action.

  1. Open Regedit on Exchange CAS server.
  2. Go to HKLM\SYSTEM\CurrentControlSET\Services\InetInfo\Parameters
  3. Create a new DWORD with name UserTokenTTL and keep the value 30 ( this means keeping the Cache only for 30 Sec).

    Protect Exchange OWA from Brute-Force attack

Now, if the user enters few number of wrong password. Then user will not be able to login into their OWA or get authenticate until account is unlocked by administrator.

Hope this will help you to protect from the Brute-force attack.

https://blog.mehedy.com/wp-content/uploads/2017/09/image_thumb5-960x675_c.png

EXCHANGE 2013/2016 RECREATE ARBITRATION MAILBOXES


In most cases while we try to migrate exchange or install another instance of exchange or for many misc reasons the Arbitration Mailboxes gets corrupted, or damaged. For which we are unable to install exchange getting various errors. In that cases we require to recreate Arbitration Mailboxes.

ARBITRATION MAILBOXES ERROR

ARBITRATION MAILBOXES ERROR

In this article, I will show you how we can do just that in Exchange 2013 or 2016.

To recreate the Arbitration Mailboxes we first have to remove everything the accompanying user accounts, which can be found in CN=Users in Active Directory:

Delete Corrupted Arbitration Mailboxes

Delete Corrupted Arbitration Mailboxes

When the user accounts are deleted you can run the Get-Mailbox –Arbitration command again to see if they are really removed.

Once removed, you have to run the Setup.exe /PrepareAD /IAcceptExchangeServerLicenseTerms command again (from the correct installation media by the way) to recreate the Arbitration Mailboxes:

PrepareAD Command

PrepareAD Command

The user accounts are now created again, and the next step is to Mail-Enable them:

Enable-Mailbox –Arbitration –Identity "FederatedEmail.4c1f4d8b-8179-4148-93bf-00a95fa1e042"

Enable-Mailbox –Arbitration –Identity "SystemMailbox{1f05a927-8668-4003-adad-9b80758e86db}"

Enable-Mailbox –Arbitration –Identity "SystemMailbox{e0dc1c29-89c3-4034-b678-e6c29d823ed9}"

Enable-Mailbox –Arbitration –Identity "SystemMailbox{bb558c35-97f1-4cb9-8ff7-d53741dc928c}"

To prevent typos you can also use the following command:

Get-User | Where {$_.Name –like "SystemMailbox*"} | Enable-Mailbox -Arbitration

Get-User | Where {$_.Name –like "FederatedEmail*"} | Enable-Mailbox –Arbitration


Enable Arbitration Mailboxes

Enable Arbitration Mailboxes

The federation Arbitration Mailbox needs to have a 1MB quota limit set to it, this can be achieved using the following command:

Get-Mailbox –Arbitration –Identity "FederatedEmail*"} | Set-Mailbox –Arbitration –ProhibitSendQuota 1MB

Set federation Arbitration Mailbox Quota

Set federation Arbitration Mailbox Quota

The Arbitration Mailboxes are up and running again, you can check using the Get-Mailbox –Arbitration command:

image


https://blog.mehedy.com/wp-content/uploads/2016/03/image2-e1457503841570-960x667_c.png

Fix “106” Performance Counter events on Exchange servers


You might have seen lots of errors in the Application log of your Exchange 2013 server from source MSExchange Common and event id 106.

"106" Performance Counter events

Performance counter updating error. Counter name is PowerShell Average Response Time, category name is MSExchangeRemotePowershell. Optional code: 2. Exception: The exception thrown is : System.InvalidOperationException: The requested Performance Counter is not a custom counter, it has to be initialized as ReadOnly.

The issue is caused by an error in the Exchange setup process where a performance counter definition is tried to read from the wrong location.

The good news is that we can fix this very easy. Copy the following script to a text file and save with the .ps1 extension.

Add-PsSnapin Microsoft.Exchange.Management.PowerShell.Setup
$files = Get-ChildItem “c:\Program Files\Microsoft\Exchange Server\V15\setup\perf\*.xml”
Write-Host “Registering the perfmon counters”
Write-Host
$count = 0;
foreach ($i in $files)
{
$count++
$f =  $i.directory, “\”, $i.name -join “”
Write-Host $count $f -BackgroundColor red
New-PerfCounters -DefinitionFileName $f
}

Run the script from an Exchange management shell.

"106" Performance Counter events

If you run into issues you can manually retry the process for that specific performance counter definition. For instance, to retry the failed counter definition from the screenshot above you can retry the action:

Add-PsSnapin Microsoft.Exchange.Management.PowerShell.Setup
New-PerfCounters -DefinitionFileName “C:\Program Files\Microsoft\Exchange Server\V15\setup\perf\WorkerTaskFrameworkPerfCounters.xml”

Interesting detail is that Microsoft apparently wrote a KB article about this issue back in 2013 which I failed to pick up. I modified the script to work on servers with Exchange installed in a non-default path. If you prefer to use the original one, don’t forget to change the path manually.

https://blog.mehedy.com/wp-content/uploads/2016/03/sshot-15-960x315_c.jpg

How to Clear Exchange ActiveMonitoring Trace Logs


Dear friends, today I am going to give you a tip for exchange server. you might have noticed that on exchange server, after installation it generates some trace logs daily, and each logs size is about 250 MB, which consumes your installation drive day by day.

the logs gets created as below location

c:\Program Files\Microsoft\Exchange Server\V15\Logging\Monitoring\Monitoring\ActiveMonitoringTraceLogs

these logs are no use to us, and it consumes our valuable exchange storage. So, How do we get rid of it?

Goto your exchange servers

Open <ExchangeInstallPath>:\bin\MSExchangeHMWorker.exe.config  in a administrative notepad

Find the Line <add key=”IsTraceLoggingEnabled” value=”true” />
and change to false and save.
Reboot server and you can now clear the logs in the monitoring path
and they will not regenerate

If you take you time to look at the bottom of this config file it will say “Used for Exchange Online only” Microsoft have confirmed this has been set to true in error

If you download the tool, Windows Directory Statistics you can see the drive usage like below image.

Windows Directory Statistics

Windows Directory Statistics

Menu